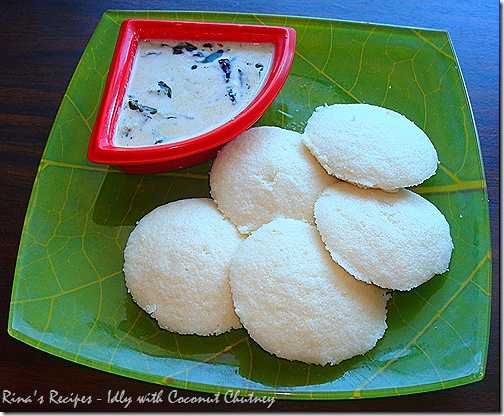
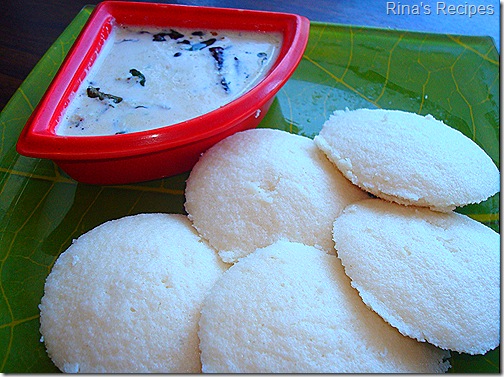
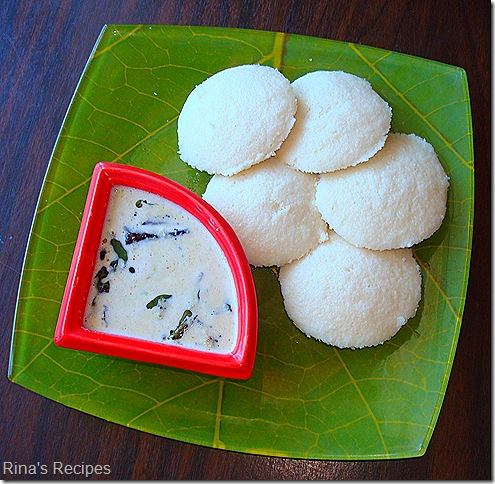
The relationship of a south Indian with Idli and coconut chutney so intense that we can write pages about it. This is one break fast that we South Indians grew up on back home.
I call it a humble combo because every household can afford to make it at home or even to take out from the near by breakfast restaurant or get from small street side stalls. I grew up in a joint family along with grand mothers, uncles and aunts. Idli is one easy breezy breakfast to feed large families. At my house back home it was a staple breakfast 2 to 3 times a week. Though I was not so fond of it those days and never use to eat more than 1 or 2, I very much long for Idly and coconut chutney in this part of the world. Obviously we know the value of things when we can't get them so readily. With very few South Indian restaurants in Toronto you got no option then to enjoy home made idlis and chutney. And I do prefer it than store bought..Though the preparation takes a few long steps, and involves using lot of equipments like wet grinder, Idli moulds and pressure cooker, scooper etc..it’s all worth to go through the process and enjoy it at least in the weekend. All the more when the whole family including my 3 year old loves it.
 Idli is prepared mainly in two different ways. Though there are many other variations and varieties of Idlies. In Tamil Nadu they use whole rice and Urad dhal(White Lentils with Black husk on them usually called black gram) and in Andhra(at least in my home, I don't know in other parts) we use Rice Rava(Cream of Rice) and Urad dhal and also the proportion of rice or rice rava and urad dhal differs.
For a Tamil Nadu style idly I use 1 cup urad dhal to 3 to 4 cups rice( par boiled or combo of par boiled and raw rice or the Tamil nadu special idly rice), soak them separately and grind them separately. Usually the urad dhal is grinded to very fine batter and the rice is grinded to hold rava constituency, then both are mixed together with salt and allowed to ferment overnight, where by morning the batter almost rises to double or triple, so that you get that soft fluffy idlis.
With Andhra Style, I use 1 cup urad dhal to 2 to 3 cups rice rava(usually call Idli rava), soak them separately and then urad dhal is grinded to very fine batter and the rice rava is squeezed from all water and added to the ground urad dhal then both are mixed together with salt and allowed to ferment overnight. Unlike the batter made with whole ground rice, this one doesn't rice so much , but is good enough to make delicious idlies.. I find this method is easy too..as we need to grind the urad dhal only and add it to the already made rice rava.
Though home made idlis and chutney are tasty and hygenic..I still long for that street side idli and coconut chutney..I still remember those days even in a good restaurant a plate idli use to be only 1 rupee 25 ps with unlimited chutney. Just the smell of this combo was a simple pleasure. Mini idlies soaked in hot sambar topped with ghee is a frequent site for breakfast or lunch in Chennai restaurants.
Now if I don't get to some serious recipe time, I will never go out of my ranting.
For cream of the Rice (Rice rava)Idlis:
Ingredients :
1 cup urad dhal
2 to 3 cups Rice rava(Idli rava),
Salt to taste
Water enough to grind and mix
2 Tbsp Yeast (if desired) I usually don't use
Method:
1.Wash thoroughly and soak urad dhal for althea 3 hours.
2.Simultaneously soak rice rava separately.
3. Wet Grind urad dhal to very smooth batter, keep aside.
4. Now squeeze rice rava from all water with palms and added to the ground urad dhal. 5. Then add salt and enough water and mix thoroughly till all the rice rava and ground urad dhal combine well and mix into each other.
6. Allow this mixture to ferment overnight.
Tips : In cold places fermentation is a challenge. So I usually follow these steps. Always use thick steel vessel to ferment the batter. Heat up the oven for a few seconds, turn off and then place the steel vessel on the oven rac. Let it stay in the oven overnight isolated by the colder temperatures outside. You can repeat that process a few times for better results, if the temperature outside is too cold. Remember to place the steel vessel with batter on a wider plate when placing in the oven..at times the batter ferments and rises so much that it overflows on the oven rac..
7. After the overnight fermentation when the you are ready to make idlis, mix the raised batter, adjust salt if necessary keep aside.
8. Fill 2-3 cups water in the Idli Steamer depending upon the size of the cooker and heat up till the water starts to boil.
9. Meanwhile grease the idli moulds with oil or ghee and add a ladle full of idli batter into each single mould, taking care that the batter does not overflow the mould.
10. Now insert the idli mould plates into the idli steamer and steam on high first and then medium heat, for 15 - 20 minutes depending on the size and the number of idlis.
11. Once the time elapses, check to see if the idlis are done and then remove from heat.
12. Sprinkle cold water on the hot idly mould plates and use a special idly scooping spoon to separate the idlis from each mould.
13. Serve hot and fresh with choice of chutneys, podi/powders or gravies.
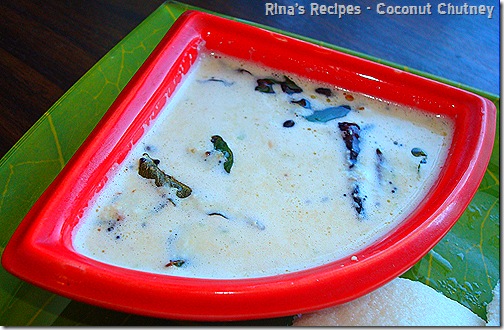
Coconut Chutney :
 Though Idli can be eaten with various accompaniments like, chutneys, podis, curried gravies like fish, chicken, lamb; one best combo for Idli always rules..that is Idli with Coconut chutney.
Like variations in Idlis making, Coconut chutney is also prepared in a number of varieties..and different combination of ingredients.
1. Coconut with roasted gram with green chillies, yogurt based
2. Just with Plain Coconut
3 Coconut with roasted gram with red chillies
4. Coconut with peanuts & green or red chillies
5. Coconut with Coriander/mint leaves and green chillies
Here let's see the making of first variety mentioned above.
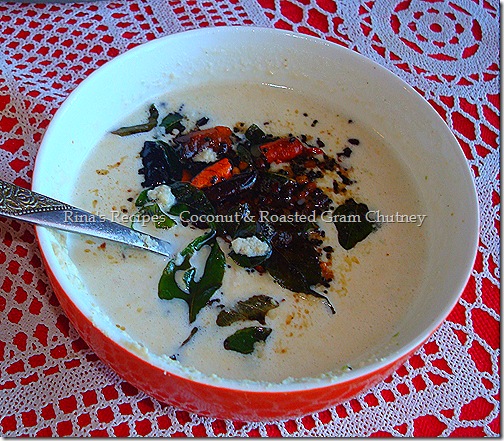
Coconut with roasted gram with green chillies, yogurt based:
Ingredients :
To Grind:1 cup grated fresh/frozen coconut
1 cup roasted gram/vepina chenaga pappu/varutha kadala parippu
1/2 cup sour yogurt
1 tsp cumin seeds (optional)
4 green chillies (increase or decrease accordingly)
1 marble size tamarind ball
Salt to taste
Enough water to grind these into a smooth paste
For Tempering/Tamlinpu:
1 tsp oil
1/2 tsp mustard seeds
1/2 tsp urad dhal
2-3 red chillies cracked
8-10 curry leaves
1 pinch of Asafoetida/Hing/Inguva/Perumgayam
Method:
In a chutney grinder, put all the ingredients in the grinding list and grind them thoroughly to a smooth paste/chutney.
Transfer to a serving container.
Heat up the small tempering vessel add oil, after the oil is hot, allow mustard to splutter and add the rest of ingredients one by one ending with Asafoetida, fry for a few seconds and spread on the prepared chutney.
 Serve with hot idlis, dosas etc..
Now that we made both Idli and Coconut chutney lets enjoy this combo.

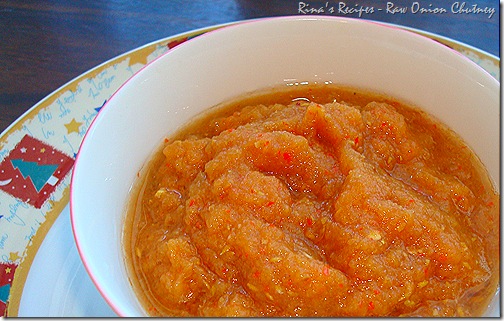 This is one chutney that can be made instantly in a jiffy. Was regularly made by my mom and grand mother in my childhood and college days, whenever we made idlis made at home.
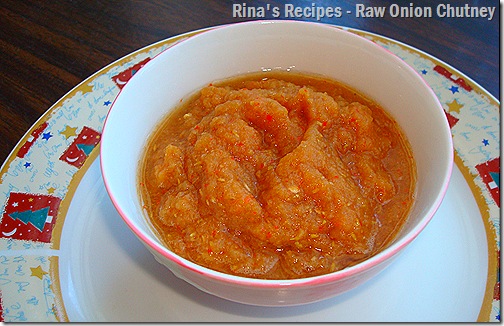 Serve with hot idlis, dosas, Uthappam, Pesarattu, Adai etc..